Oceanside, CA – Imagine savoring a meal under the open sky, surrounded by the gentle breezes and picturesque views of Oceanside. An outdoor kitchen can make this dream a reality, blending the comforts of indoor living with the beauty of the outdoors. Whether you’re an avid cook, a social butterfly, or simply love the idea of dining al fresco, designing your outdoor kitchen in Oceanside can be a delightful and rewarding project. Here’s a step-by-step guide to help you create your perfect outdoor culinary space.
Step 1: Define Your Vision
Imagine Your Ideal Space:
Think about how you want to use your outdoor kitchen. Will it be a cozy spot for family dinners, a vibrant area for entertaining guests, or a tranquil corner for weekend brunches?
Gather Inspiration:
Look for ideas online, in magazines, or from local Oceanside homes. Create a mood board with images, color schemes, and designs that inspire you.
Step 2: Understand Your Space
Assess the Area:
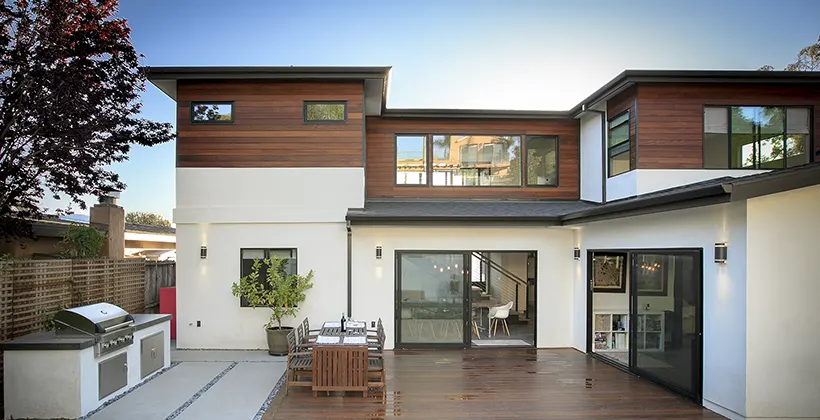
Consider the size and layout of your outdoor space. Take note of the direction of the wind, the path of the sun, and any views you want to highlight or conceal.
Integration with Your Home:
Your outdoor kitchen should complement your home’s architecture. Think about how it will connect with your indoor spaces, both visually and functionally.
Step 3: Choose the Right Appliances and Features
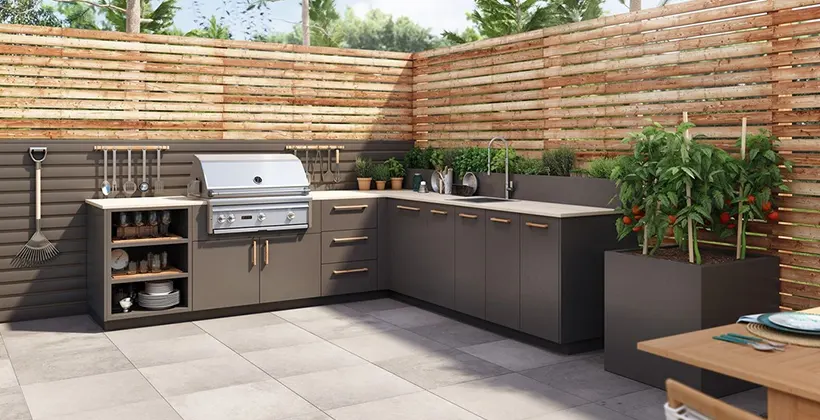
Essential Appliances:
Decide what appliances are essential for your cooking style. Common choices include grills, smokers, pizza ovens, and refrigerators.
Storage and Workspace:
Include ample countertop space for food preparation and cabinets for storing utensils and ingredients.
Additional Features:
Consider adding a sink, bar area, or even special features like a wine cooler or a built-in sound system.
Step 4: Select Durable Materials
Weather-Resistant Materials:
Choose materials that can withstand the Oceanside climate. Stainless steel appliances, stone countertops, and marine-grade polymer cabinets are popular choices.
Aesthetic Appeal:
Select finishes and colors that blend with your home’s style and your outdoor environment. Natural stone, tile, or concrete can offer both beauty and durability.
Step 5: Plan for Comfort and Functionality
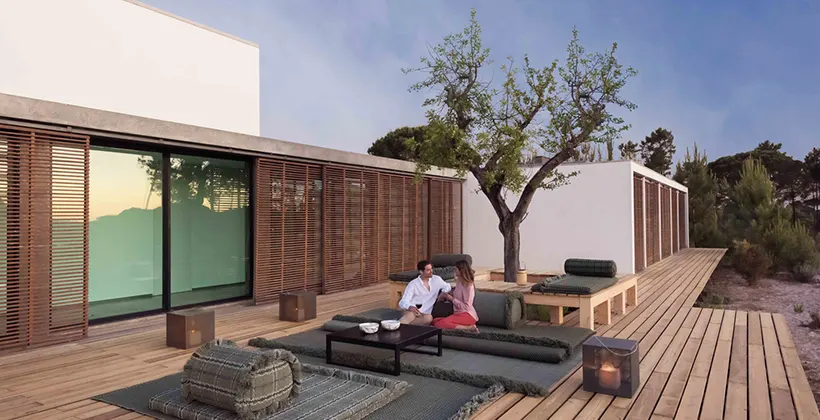
Seating Arrangements:
Incorporate comfortable seating options, whether it’s a dining table, bar stools, or lounge chairs.
Lighting and Shade:
Plan for a mix of functional and ambient lighting. Consider adding umbrellas, pergolas, or a canopy for shade during sunny days.
Step 6: Hire Professionals or DIY
Professional Help:
For a seamless installation, consider hiring professionals who specialize in outdoor kitchens. They can handle the technical aspects, like plumbing and electrical work.
DIY Projects:
If you’re handy and have the time, tackling some parts of the project yourself can be rewarding and cost-effective.
Step 7: Enjoy Your Outdoor Kitchen
Once your outdoor kitchen is complete, it’s time to enjoy the fruits of your labor. Host a barbecue party, have a quiet morning coffee, or simply enjoy the Oceanside air as you cook and dine in your new outdoor space.
Conclusion: Your Outdoor Culinary Haven Awaits
An outdoor kitchen in Oceanside is more than just a cooking area; it’s a lifestyle upgrade. By following these steps, you can create a space that enhances your cooking experience, entertains guests, and elevates your outdoor living to a whole new level.
About Us: We specialize in designing and creating custom outdoor kitchens in Oceanside. Our team is dedicated to turning your outdoor kitchen dreams into reality, ensuring a perfect blend of functionality, style, and quality. Contact us today to start designing your ideal outdoor culinary space!